Showing posts with label tarts. Show all posts

Sunday, March 4, 2012

Chinese New Year Bakes 2012

My baking blog seems to be gathering cobwebs due to several weeks of neglect. Before it continues to fall apart due to lack of maintenance, it is time to do some "Spring Cleaning" and "repair works".

This post was supposed to be up during Chinese New Year period. For this Chinese New Year, I have decided to move away from doing just the usual pineapple tarts. Come to think of it, it is my fourth year doing the all-time festive favourite. Before I could decide if I want to make the pineapple paste from scratch, mum happily handed me two packets of store-bought paste, leaving me with no choice but to use them.

Ever since I had my maiden attempt on making homemade pineapple jam, the bar has been raised. I am no longer satisfied with the one-dimensional plainly sweet pineapple jam. There is far too much sugar in store-bought paste, probably necessary to allow the paste to keep for a long period of time. In addition, store-bought jam is much drier compared to homemade ones, does not taste as fruity and lack the cinnamon taste which gives it the extra oomph.

Next year, I will likely not be doing any pineapple tarts and will be shifting the focus to trying out other CNY cookies instead.


Preparing the pineapple balls and pineapple tart crust.


Store bought pineapple paste. Sweet and sticky.


Pineapple tart pastry made with Lurpak butter.


Besides doing pineapple tarts, I have tried Florence's peanut cookies recipe. These cookies are so fragile that they crumble in the mouth right away, giving the melt-in-the-mouth texture. Personally, I prefer my peanut cookies to be firm and crunchy, but taste-wise there is nothing for me to find fault with, for they are packed with loads of peanut flavour. I will be using caster sugar in place of the icing sugar for this same recipe next CNY to give a crunchy texture instead.


Just a few tubs of CNY goodies I have made.


Peanut cookies and pineapple tarts.  

Peanut Cookies (recipe from Do What I Like by Florence)
Taste and Texture: Strong peanut flavour with melt-in-the-mouth texture.

click on the following link for recipe:
recipe


Instagram link: http://instagram.com/bakertanbakes

Wednesday, March 16, 2011

Nutella Cream Cheese Tarts


I was browsing baking books at Kinokuniya yesterday when I overheard two ladies discussing the instructions on a recipe. They were wondering why the author asked for the cupcake pan to be rotated halfway through the baking time. With the answer in mind, I explained to them the rationale for doing so. 

After a brief chat with them, I got to know that they just started out baking. Out of goodwill, I recommended that they do some readup to prepare themselves well and referred them to baking sites such as baking911 and joy of baking. This incident reminded me of the time when I first started out as a self-taught baker. There was like tons of stuff to read up on and I wished I had a reliable source of help to turn to. Hope the two ladies will have lots of fun and joy embarking on their baking journey, perhaps even finding their passion in the midst of doing so.


Its been a while since I made any tarts (pineapple tarts excluded). I have been itching to try out recipes from one of my tart books. I love to munch on cream cheese tarts from bakeries and have always wanted to make them ever since I started baking. The chance came when I came across a recipe for blueberry cream cheese tarts. Tweaked the recipe a little and it came out nutella cream cheese tarts instead.  


Originally, the recipe asked for milk powder. I didn't like the creamy taste of it and hence omitted them in the recipe below. Taste wise, they are not too shabby. I would have preferred the fillings to be firmer though, similar to cream cheese tarts from local bakeries. 

Nutella Cream Cheese Tarts (recipe adapted from In the Mood for Pastries & Tarts by Alan Ooi)
Serving size: 12 3-inch tarts
Taste and texture: Creamy-cheesey with crumbly tart crust
Equipment and materials:
1) Flour sieve
2) Measuring spoon set
3) Mixing bowl/s
4) Wire rack
5) Fork
6) Pastry blender (optional)
7) Clingfilm
8) 3-inch individual tart tins

Sweet Short Crust Pastry:
210g plain flour
115g chilled unsalted butter, cubed
1/4 tsp salt
4 tbs icing sugar
2 1/2 tbs cold water
 
Cream Cheese Filling:
250g cream cheese
50g icing sugar
30g butter
50g whole eggs
about 4 tbs Nutella
 
Making the sweet short crust pastry:
Mixing dry ingredients - In a mixing bowl, sift in flour, icing sugar and salt. Whisk with a wire whisk to distribute ingredients evenly.
 
Forming the pastry - Cut butter into flour with a pastry blender until coarse flour coated crumbs are formed. Alternatively, rub the cubed butter into the flour with your clean hands to obtain coarse flour coated crumbs. Stir in cold water and mix with a fork to moisten the crumbs.
 
Gather the crumbs and knead briefly and gently enough so that crumbs come together to form a dough. Wrap dough with clingfilm and chill dough for at least 30 minutes.
 
Lining tart tins - Weigh the dough and divide it into 12 equal portions. Press each portion of dough evenly into individual 3-inch tart tins. Chilled dough-lined tart tins for 20 minutes. 
 
Baking the tart crusts - Preheat oven to 180 degrees C. Bake tart dough for about 15 -20 minutes or until tart crusts are lightly browned. Allow tarts to cool slightly in tart tins before removing them to cool completely on a wire rack. 
 
Assembling the tarts:
Making the cream cheese filling - In a mixing bowl, beat cream cheese, icing sugar and butter until creamy and smooth. Add in egg/s beat well to combine.
 
Filling and baking tart crusts - Spoon cream cheese filling onto cooled tart crusts. Drop 1/2 tsp nutella onto the cream cheese filling of each tart and use a tooth pick to create swirls. Bake tarts for 15-20 minutes at 180 degrees C. Allow tarts to cool completely on a wire rack.   

Notes:
1) The cream cheese filling is softly set after 15-20minutes of baking. For a firmer custard, either bake the tarts longer or chill the tarts.
2) My tart crusts are are pale creamy in colour as I did not bake long them enough, and probably due to the milk powder.
3) Use blueberry jam/ pie filling in place of nutella to make blueberry cream cheese tarts.
4) Tarts may shrink a little after baking.
5) Avoid over-kneading the dough of you may end up with tough crusts.

Instagram link: http://instagram.com/bakertanbakes

Tuesday, February 8, 2011

Chinese New Year 2011 and Nice Homemade Pineapple Tarts

Chinese New Year marks the start of a new year in the lunar calendar. When it comes to Chinese New Year, it is a time of reunion with family, relatives and friends. This is one highly-regarded festive occasion that is widely celebrated by all Chinese worldwide. 

On Chinese New Year Eve ( 除夕夜), Chinese families gather for a feasting over dinner which symbolizes reunion. This is known as the reunion dinner. The reunion dinner usually includes a mouth-watering spread of dishes including roasted duck, steamed chicken, steamed fish with gravvy and other restaurant-style delicacies offering lots of meat and expensive seafood such as abalone and scallops. Some families may opt for a steamboat dinner instead which involves less preparation.

It sure was a lot of feasting for me as I had three reunion dinners in total: one at home on the sunday before week of Chinese New Year, one at my elder brother's place during New Year's Eve and the last dinner at my grandma's place (paternal side) following my 2nd reunion dinner. The feastings did not just include the reunion dinners. Since there is always an abundance of food for each reunion dinner, the leftovers are warmed up and taken for lunch or dinner the following day.


Apart from the rich dishes that are present during lunch or dinner, there is also a wide array of tidbits and cookies. There are some goodies which me and my younger brother consider a must-buy for Chinese New Year, namely: Julie's Chocolate Love Letters, Da Fa Fish Strips, Ferrero Rocher, Hello Panda Chocolate-filled Cookies and Pineapple Tarts.


This is the third year that I am making pineapple tarts (closed versions) and I decided to attempt to make the pineapple paste from scratch using Wendy's recipe and method. Her instructions were clear and the proportion of pineapples and sugar were just right. I was absolutely thrilled at how good my homemade paste turned out. However, I had to constantly observe if the bottom of my pan was charring since it was a non heavy based one. Each time the bottom of the pot charred, I had to remove the jam from the pot, wash the pot and scrub the charred spot/s clean. For the final bit, I had to resort to using the mircowave to dry my wet pineapple paste instead of constantly frying to reduce the risk of ending up with burnt pineapple paste.

I made two batches of pineapple paste using two different varieties of pineapples - Honey pineapples and S&W sweet pineapples. Honey pineapples are much sweeter and could do with lesser sugar. Over in Malaysia, Honey pineapples are known by their variety name instead. The S&W sweet pineapples were quite costly - $2.90 for each weighing 1.6kg. Even though these pineapples were steeply priced, I would gladly pay for them again since they produce a fragrant fruity sweet-tart pineapple paste as compared to the Honey pineapples. 


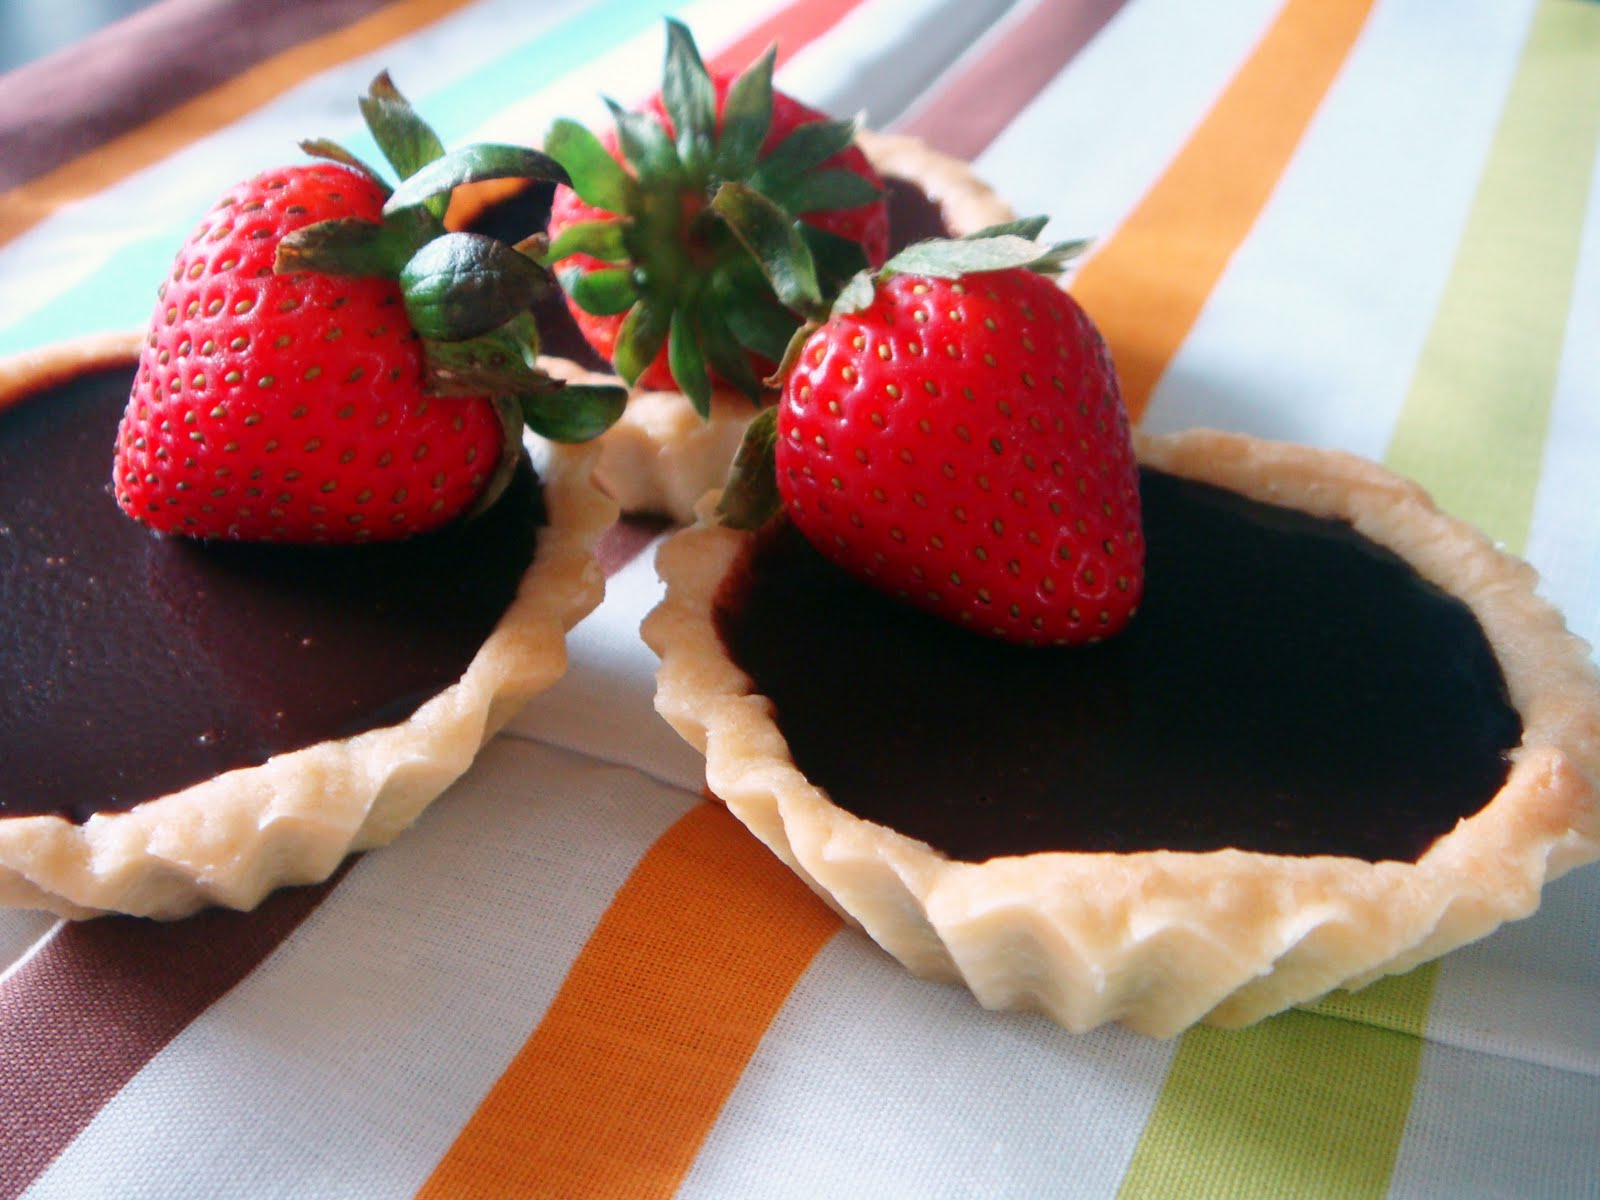
I decided to be a little adventurous and tried out a different tart pastry recipe. My efforts paid off and it yielded tarts that crumbled easily with a melt-in-the-mouth experience. Excellent! My pineapple tarts were churned out in two different batches using different homemade pineapple paste. I was extremely pleased with my first batch of tarts for the texture and taste but felt that the second batch could be better improved on. 

For the second batch, the honey pineapple paste was sweeter and a little too fibrous for my liking. Next time, I would process the pineapples longer to break up the fibres. I also made a mistake by measuring my paste and pastry by 1/2 teaspoonfuls instead of going by the teaspoon (I used the same baking time even though my pineapple balls were smaller), something which I only realized afterwards! No wonder I thought my pineapple tarts seemed to be smaller. Foolish me, haha...  As a result, the pastry turned out to be firmer and more crusty.


Pineapple Tarts (pastry recipe adapted from Delicious Nyonya Kuek & Desserts by Patricia Lee)
Serving size: about 70 tarts, fills two small sized CNY cookie containers.
Taste and Texture: Crumbly and moderately melt-in-the mouth texture with sweet-tart fruity pineapple paste filling.
Equipment and Materials:
1) Baking/Cookie pans
2) Flour sieve
3) weighing scale
4) Measuring bowls
5) Measuring spoon set
6) Pastry cutter/ two knives
7) Wire whisk
8) Baking/Parchement paper
9) Clingfilm

Ingredients:
360g plain flour
1 tsp baking powder
1/4 tsp salt
2 tbs icing sugar
2 egg yolks
1 tsp vanilla extract
220g cold butter, cubed
2 1/2 tbs hot water
400g homemade pineapple paste (click on link to reveal recipe and method)
1 or 2 egg yolk/s for egg wash

Making the pastry:
Mix dry ingredients - Sift flour, baking powder, salt and icing sugar into a large mixing bowl. Whisk well to combine and distribute evenly.

Rub butter into dry ingredients - Tip the cubed butter onto the dry ingredients. Use the pastry cutter to cut the butter into the dry ingredients. Alternatively, use two knives in a scissor-like manner and cut the butter into the flour. Continue the process until the butter and dry ingredient mixture look like bread crumbs with a few large grains. If there is no pastry cutter or knives, you may use your hand to rub the butter into the flour mixture.

Adding yolks and vanilla - Beat egg yolks with 1 tsp vanilla extract. Add it to the butter-flour crumb mixture and stir gently with a folk.

Mix to a dough - Finally, add the hot water and stir gently until the mixture starts to come together. Knead with your hands gently to incoporate loose dough and bring everything together. Once the dough comes together, give it some further gentle kneading so that the dough is evenly coloured (there is presence of egg yolk). The kneading process should be as brief and as gentle as possible. Once the dough is done, wrap the dough with clingfilm and rest the dough in the refrigerator for 30 minutes. 

Making the tarts:  
Portioning the pastry - Scoop out slightly heaped teaspoons of dough and roll into into round balls. Set aside.

Portioning the pineapple paste - Scoop out levelled teaspoons of pineapple paste and roll into into round balls. Set aside

Wrapping the pineapple paste - Flatten a ball of pastry and place a ball of pineapple paste onto the flattened pastry. Wrap the pastry over the pineapple paste evenly to get round pineapple tarts. You may need to add more pastry or remove excess pastry in order to get the desired thickness of pastry around the paste.

Baking the tarts - Preheat oven to 170 degrees C. Arrange wrapped pineapple tarts onto baking sheets spaced evenly. Brush a thin layer of egg yolk over each pineapple tart. Bake tarts for 20 minutes. Allow tarts to cool completely on wire rack before storing in airtight containers.

Notes:
1) The pastry needs to be handled gently and minimally so that it will achieve the crumbly yet melt-in-the-mouth texture. Use a trusted brand of plain flour for the pastry.
2) Do not brush too much egg wash or the pastry will taste eggy. I brushed a lot of egg wash to achieve the golden effect but the taste is slightly compromised.
3) Do not overbake the tarts or the pastry will turn firm and crusty as opposed to being crumbly and melt-in-the-mouth.
4) Tart semi-ripe pineapples are preferred for the paste.
5) Do not discard core from pineapples. Use it making the paste.
6) You can control the wetness of the pineapple paste if it is homemade. Store bought paste tends to be chewy and dry.
7) The tarts will not turn out be yellowish like commercially available ones since there is no yellow colouring used. Instead the colour obtained for the baked tarts is slighlty cream/off-white.
8) Pastry recipe is for closed tarts. It may or may not work well for open tarts.
9) Chilled dough (30 mins chilling time) is relatively easy to handle since it is for closed tarts.
10) Try baking a few tarts as a test batch to get the desired baking time.
11) Use good quality butter for the pastry.

Wednesday, August 25, 2010

Baking with Bakertan - French Apple Tart ( Tarte Aux Pommes)

Yo folks! Bakertan will be doing a French Apple Tart (Tarte Aux Pommes) today. First of all, we need to prepare the tart base. The tart base we will be using is known as Pâte Brisée ( paht bree-ZAY ), the french version of an unsweetened shortcrust pastry, according to Maxine Clark. Pâte Brisée is a rather versatile tart base and it yields a rich, crumbly flaky texture.


Now, we need to sift the flour onto a clean work surface. Sprinkle a generous pinch of salt evenly over the flour. Make sure both your hands are clean, folks. Use the knuckles of one hand and make a well in the centre of the flour.


Dice some butter and soften it at room temperature. Add the diced butter to the well together with an egg yolk.


Use all 5 fingers of one hand and 'peck' the butter and egg yolk. You will want them to end up looking like scrambled eggs.


Ok, now that one of your hand is greasy, you have the other hand free to use. Grab a palette knife with the other hand and start turning the surrounding flour over the butter yolk mixture. Chop through the mixture like you are chopping nuts. Sprinkle iced water over the mixure. Repeat the chopping action and turning of flour until all the flour is combined with the butter mixture. You can see that the end result is some coarse and fine flour-coated butter crumbs.


Folks, we need to bring all the crumbs together to form a dough. So, gently gather the crumbs. Knead them gently so that they come together into a ball.  Make sure that you do not overknead the dough. We do not want the dough to be well kneaded and everything is evenly distributed. This is not cake making ~ Once done, flatten the ball slightly and wrap it up with clingfilm. Place the dough in the refrigerator for at at least 30 minutes.


So, once the dough is chilled, we can work on it again. Remove the clingfilm and let the chilled dough soften a while at room temperature. Meanwhile, we need to dust a clean work surface and a rolling pin with a little flour. This will prevent the dough from sticking to the rolling pin and the work surface. Roll out the dough evenly using the rolling pin. Dust the rolling pin every now and then to prevent dough from sticking.


How do we know when to stop rolling? Place the tart tin onto the rolled out dough. The rolled dough should be larger than the size of the tart tin. We want to have excess dough so that we can cover up the sides of the tin.


Next, remove the tart tin and place the rolling pin onto the rolled out dough. Slowly lift up the dough from one end and wrap it around the rolling pin lightly. You have to do this slowly so as to prevent tearing the dough. Remember not to roll the dough tightly onto the pin or else it will stick together. That will spell trouble, oops!...  


Once done, place the wrapped dough onto the tart tin. Starting from one end of the tart tin, slowly unwrapped the tart dough until the tart tin is covered. Press the dough down to fit the tart tin, ensuring that the dough adheres to the base and the sides well.


There will be excess dough over-hanging from the sides. How do we deal with that? We need a sharp knife. A small one will do. I am using a paring knife here. Simply run the knife through the sides to cut off the excess dough. Nevermind if the tart tin is not fully lined. We can do some patching up.


Use the excess dough a little at a time and patch up the bald areas. Tada! We have a nicely lined up tart base now. Thats all for preparing a tart base and lining a tart tin. Return the tart base to the refrigerator for another 15 minutes. We still have to prepare the apple fillings.... Wrap up the remaining dough with clingfilm and use it to make a small tart.


To prepare the apple filling, core and peel 4 or 5 baking apples. Golden Delicious or Granny Smith will be good choices. Slice the apples thinly and arrange them nicely on the chilled tart base in nice concentric circles, starting with the outer circle and followed by the inner circle. Arrange smaller pieces of sliced apples in the middle. Sprinkle sugar evenly and place cubed butter all over the apples. Place tart tin on top of a baking pan and bake the apple tart at 200 degrees C for an hour until the apples are nicely browned. We are not done yet... Warm some apricot jam in a saucer over low heat and spread it over the apple tart to give it a glossy look and added flavour. Voila! We now have a nice French Apple Tart.

Thats all for today, folks. Stay tuned to Baking with Bakertan. Cheers and have a nice day~  


Ok back to how I usually blog. I thought I would deviate from my norm since I do not have anything interesting to write. So I was thinking: "Hey, why not 'host' a baking demonstation here"? That should break the monotony.

After using up some of my Golden Delicious Apples for my previous apple-upside down cake, I had some leftovers and was planning to use them soon. Youfei's post on her apple tart movtivated me to do a French Apple Tart. There should be no more Golden Delicious apples by now. No, not really. I just caught hold of a new bag of Golden Delicious, without any hesitation! That means.. More baking with apples! It  takes a bit of luck to find it these days, so I am not going to take any chances by passing up the opportunity...

Two weeks ago, a visitor to my blog emailed me. I was delighted to know that we live really near each other, just five minutes walk away. She managed to find me here, all thanks to Edith's blog. I met up with her this evening and passed her some of my freshly baked French Apple Tarts. Really look forward to more baking exchanges and sessions with my newly found friend...

French Apple Tart ( Tarte Aux Pommes) (Recipe adapted from Tarts: Sweet and Savoury by Maxine Clark)
Serving size: 8 to 10 slices
Texture: Buttery flaky and crumbly tart crust. Apple filling is sweet and moderately firm, not mushy with lended flavour and sweetness from apricot jam.
Equipment and Materials:
1) 24 or 25 cm tart tin with removable base
2) Rolling pin
3) Flour sieve
4) Measuring spoon set
5) Clingfilm
6) Baking tray
7) Palette knife
8) Wire rack

Pâte Brisée:
220g plain flour
a generous pinch of salt
110g unsalted butter, diced and softened at room temperature
15g egg yolk (I used a 55g egg)
3 tbs water

Making the Pâte Brisée:
Follow instructions as mentioned above.

Apple Filling:
4 or 5 baking apples, peeled and cored, about 400g of sliced apples (I used Golden Delicious)
2 tbs caster sugar (I used raw sugar)
40g unsalted butter, diced
2-3 tbs apricot jam, warmed  (I used IXL apricot jam. St Dalfour's Peach Jam would be a good choice too)

Making apple filling:
Follow instructions as mentioned above.

Notes:
1) Do not be tempted to add more apricot jam. The sweetness will steal the focus from the apples.

Apples on FoodistaApples

Friday, May 21, 2010

Art of The Chocolate Tart


These days, tarts are fast becoming part of my baking routine. With some leftover cream from a previous bake, I decided to churn out some chocolate tarts.


Flipping through my collection of bake books, I decided to marry two recipes from two different books. Instead of making a whole 10 inch tart, I thought it would be nice to tweak things a little. Why not make smaller tarts instead? Well, it seemed pretty straight forward, but there is slightly more work involved in making smaller tarts. I have to measure out the exact weight of dough for each small tart tin and press the dough in to fit. The recipe made enough for 13 tarts, meaning that I had to repeat the pressing dough into tart tin process 13 times. I would not say it is difficult to do so, but the repetitive nature is enough to bore me. What a chore!

Next up was deciding the amount of chocolate filling for the tarts. I made a small portion and it was sufficient to fill 6 of the tart crusts. After filling the 6 tart crusts, I soon realized that the filling was too bitter for my liking. What I did next was prepared enough filling for the rest of the tart crusts. I then scooped out the fillings from the tarts I have already prepared and mixed them in with the rest of the newly prepared filling, added some honey and it was good to go.


Silky Chocolate Tarts (Crust recipe adapted from Tarts: Sweet and Savoury)
Equipment: 3 inch (measured from top) individual tart tins. Mine comes in a pack of 12.

Pate Sucree:
200g flour
60g icing sugar
85g diced unsalted butter, softened and at room temperature
2 egg yolks
1/2 tsp vanilla extract
2 tbs iced water

Method:
1) Sift flour and sugar into a bowl. Use a whisk to distribute the ingredients evenly.
2) Pour the flour and sugar mixture onto a clean surface. Make a well in the middle.
3) Place the butter, egg yolks and vanilla in the well. Use one hand to peck the butter and yolks together until it becomes like scrambled eggs
4) Using a long palette knife, spoon flour over the well and chop throughout to mix the butter mixture and the flour mixture. The end result should be lumpy.
5) Add the iced water and continue chopping with the knife.
6) Using both hands, bring the mixture to a ball of dough.
7) Wrap it in clingfilm and allow dough to chill for 45 minutes.
8) Preheat oven to 180 degrees C
9) When dough is chilled, weight 30g dough for each tart tin. Press dough evenly to fit the tins.
10) Chill dough for 20 minutes before baking.
11) Place a piece of baking paper over the top of the tart tins. Fill with baking beans or dry beans/ raw rice. Place in oven and bake for 10 minutes.
12) Remove baking paper and baking beans and return tart crusts to oven and bake a further 10 - 15minutes till crusts are dry.
13) Allow crusts to cool and remove from tart tins when done.

Silky Chocolate Filling:
225ml cream
180g dark chocolate (50 - 60% cocoa)
1 tbs liquer of choice: Bailey's, Rum, Cointreau, Kahlua will do fine.
2 - 4 tbs corn syrup/ honey (start with 2 tbs, add more if desired)

Method:
1) Heat cream in a heatproof bowl over a double boiler. When cream is hot, add the chocolate. Allow chocolate to soften then stir to allow chocolate and cream to combine.
2) Remove bowl from heat. Stir in corn syrup and liquer. Allow chocolate filling to cool
3) Spoon chocolate filling into individual tart crusts. Chill tarts in fridge until filling is set.

Tuesday, April 13, 2010

Granny Smith Apple Fragrance


I have never preferred baking tarts to cookies or cakes. The pictures illustrated on books always look so tempting and delicious but it always turn out to be a whole lot of work to me when I attempt to bake one.

This time I was determined to bake a proper whole tart. The last time I did so was a lemon tart. It tasted good but the appearance did not turn out ideal.

Preparing the tart crust was alot easier than I thought this time round. Things went smoothly, too smoothly I thought. Then, the not-so-smooth bug came into the picture. I had problems preparing the crumle topping. The recipe asked for softened butter and the crumble topping turned out to be an oily mess. I immediately knew there was something wrong with the recipe. I re-prepared the crumble topping, this time round using chilled butter. It do not turn out to be what I expected. Too much butter I thought, based on my intuition and experience. 

After running a brief search for recipes online, I found out the the recipe I referred to used too much butter. In the end I had to re-prepare a third time and the consistency turned out ok. What a waste of butter!I did not feel so heart-pained for the wasted flour and sugar as butter is the most expensive ingredient here.   

Apple tart recipes in bake books all seem to have something in common. Most of them require Granny Smith apples. I then found out that Granny Smith apples are green apples. And as most people would know, green apples have a tart flavour. For a moment, I thought the apples would still retain their tartness after baking.

On the contrary, the apple pie came out to be apple-sweet with a twist of tangy lemon and there was the subtle aroma of cinnamon circling around. I almost could not resist the moist juicy sultanas hidden among the apples. Looks like it was worth making this tart after-all ~

Lemony Apple Crumble Tart (recipe adapted from Tarts: Sweet and Savoury)
Equipment: 23cm tart tin

Sweet rich shortcrust pastry:
250g plain flour
1/2 tsp salt
125g unsalted butter, chilled and diced
2 medium egg yolks
2 tbs iced water
2 tbs icing sugar
1 egg beaten for brushing base

Method:
1) Sift the flour and sugar into a bowl. Add the salt and use a whisk to distribute the ingredients uniformly.
2) Add in the chilled and diced butter into the bowl. Rub the flour mixture into the butter until it becomes like breadcrumbs. There will be some grains that will be larger than the rest. Leave it as that.
3) Next, mix the egg yolks and iced water and add to the flour butter mixture. Use a fork to mix and moisten the dough.
4) Turn the mixture out onto a lightly floured surface and knead lightly using your hands to bring the dough together. Once the dough comes together, form it into a ball and wrap it up with clingfilm. Do not work the dough too long. It will become rock hard upon baking.
5) Chill the dough for 30 mins before using.
6) While the dough is chilling, prepare the filling.
7) When tart is chilled, bring it to a lightly floured surface and roll the dough out to a circle slightly bigger than the tart tin. (Remember to take into account the side of the tart tin as well). Wrap the dough around the roller and transfer the dough to the tin. Unroll the dough and press the dough into place. Use a knife to cut off excess dough from the sides of the tin.
8) Prick the base with a fork all over. Chill the tart for 15 minutes.
9) Preheat oven to 190 degrees C
10) Cut out a piece of foil or baking paper larger than the tart tin. Line the top of the dough with the paper or foil. Fill the tin with baking beans. (Use rice or barley or other dry beans if you do not not have baking beans)
11) Bake the tart for 10minutes. Remove the beans and bake the tart for a further 5 minutes. Let the beans cool. Store and reuse the beans.
12) Brush the base with the beaten egg to cover the fork holes. Put the tart into the oven and bake for 5mins until the base is dry. If  necessary, repeat this step.

Apple filling:
6 Granny Smith apples (or 6 green apples)
60g sultanas
fine zest of 1 lemon (wash lemon thoroughly before zesting)
juice of 1/2 a lemon
55g brown sugar
1/2 tsp cinnamon (more if desired)
1 tbs plain flour mixed with 1 tbs castor sugar

Crumble topping :
75g plain flour
75g castor sugar
40g butter, chilled and diced
fine zest of 1 lemon

Method:
1) Peel and core the apples. Cut the apples into small chunks. I cut the apples into quarters, then half each quarter length-wise. Next, I cut the 2 length-wise pieces into 6 chunks. One apple would give 24 chunks.
2) Place the apples into a big bowl and add the sultanas, lemon zest and juice, cinnamon and brown sugar. Mix them together.
3) Scatter the mixed flour sugar mixture onto the baked tart base. Place the apple chunks on top of the tart. There is more than enough apples to form a layer. Discard the liquid left behind.  
4) Prepare the crumble topping. Mix the flour, sugar and lemon into a bowl. Rub the butter until the mixture resembles breadcrumbs. Scatter the crumble topping over the apples evenly.
5) Bake the assembled tart at 190 degrees C for 15 minutes then lower temperature to 180 degrees C and bake for another 30 minutes. Tart taste best when served warm.


Saturday, February 28, 2009

Backlog- CNY Pineapple Tarts


For CNY i baked a total of 5 tins of pineapple tarts. Whew! it sure was a tiring task having to roll all the pastry skin and the pineapple fillings into balls. Luckily, mum and younger bro decided to help me since the whole family is mad about pineapple tarts. We ate a total of 7 tins this year, and i estimate that i would need to bake 5 to 7 tins next year for CNY.

Baking pineapple tarts is a very time consuming, tedious yet fulfilling process. It only cost me 10bucks to bake 3 tins of tarts whereas 1
tin of handmade pineapple tart can sell for 10bucks or more on the market. On the other hand, homemade pineapple tarts can cater to personal taste and with some practice they easily turn out to be a delicious treat.

I was inspired to bake these tarts after reading youfei's blog. I followed her recipe and baked my first batch of tarts. It turned out decent, however my pastry skin was a little too thick. The 2nd time i tried baking i used a recipe featured in the sunday times. The outcome were tarts that were soft and give a melt-in-the-mouth feel. However, the skin seems to peel and the tarts seem to stick to the mouth after eating.

The best results i had were tarts baked on my 3rd attempt. This time round i altered youfei's recipe and used 50g butter less. The tarts gave a crumbly feel which suited our preference. I am so going to use this recipe for CNY next year. However, i think i wont be doing my own pineapple jam next year like this time round as it is too time consuming to me. Storebought Phoon Huat or Bake King brand pineapple paste seemed good enough.

Backlog- Egg Tarts


This was one of my most successful attempts in baking. I was pretty satisfied with the results considering this was my first attempt on baking egg tarts. My elder brother commented that it was as good as those sold in bakeries. This recipe from aunty yochana's is definitely a superb one.

The recipe can be found here:
Egg tarts

Related Posts with Thumbnails